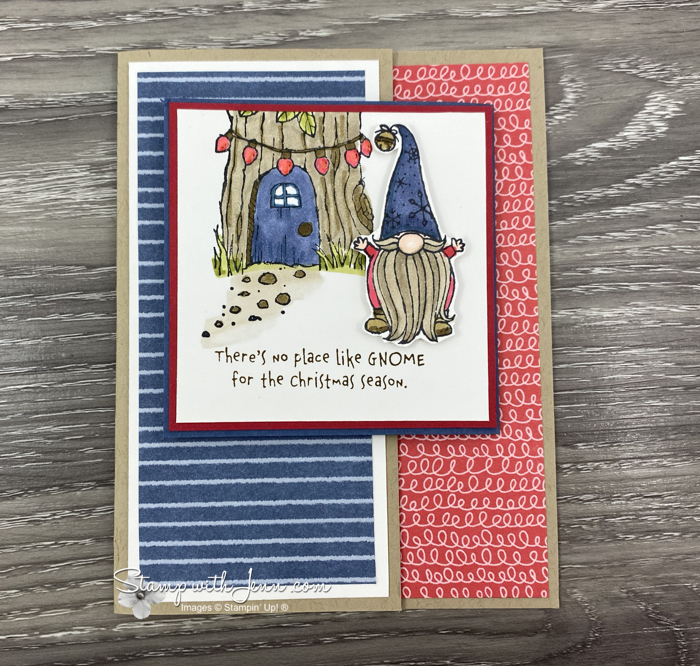
There’s No Place Like Gnome Joy Fold Card
 How cute is the Gnome for the Holidays stamp set from Stampin’ Up!? I made this Joy Fold card with the cute little punny saying on it “There’s no place like Gnome for the Christmas Season“.
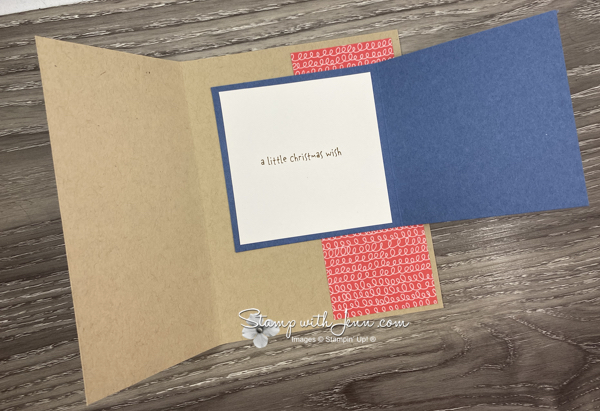
Joy Fold cards are an easy-to-make fun fold to add to your crafting skills.
The top part of this card is simply a little card with a reverse fold. And then you mount that little card on the inside of a regular card. I usually trim a little bit off the front of the largest card too.
 Here’s my measurements for my Gnome Joy Fold card:
- Card Base (Crumb Cake): 7″ x 5 1/2″ (scored at 4 1/4″) OR you can take a regular card and cut 1 1/2″ off the front panel
- Front Left Panel (Whisper White): 5 1/4″ x 2 1/2″
- Front Left Panel (Designer Series Paper): 5″ x 2 1/4″
- Back Right Panel (Designer Series Paper): 5 1/4″ x 2″
- Mini Card (Misty Moonlight): 6 1/2 x 3 1/4″ ; (scored at 3 1/4) OR 3 1/4″ square when folded
- Extra pieces for layers and cutting out images

Trimming the Town Designer Series Paper from Stampin’ Up!
The Designer Series Paper that I used is the Trimming the Town from Stampin’ Up! I love the bright bold patterns and thought they were perfect to match the Gnome, the door and the red Christmas lights. This is a fun colour combination to try, not only for Christmas cards, but it would also be great for masculine cards too. You can see the complete supply list for this card below.

 One tip I have for you when you make a Joy Fold card is to make sure you crease the score line on the mini card well, with a bone folder, so it lays as flat as possible and doesn’t flap open.
I stamped the image on the card front from the Gnome for the Holidays stamp set. And I stamped the little Gnome image on a scrap piece of Whisper White card stock. I then coloured all the images with my Blends alcohol markers (read more about Blends here). For the pathway up the adorable like Gnome tree house, I used my lightest Crumb Cake Blends marker to add a little bit of colour and then blended it out with the Colour Lifter.
To finish off the card, I cut out my little Gnome (super easy to do with sharp pointy scissors like Stampin’ Up’s! Paper Snips Scissors). And the final touch I did on this card was to add some Shimmery Crystal Effects (see the supply list below) to both the little lights and the jingle bell on the gnomes hat. I used a small inexpensive paintbrush to lightly paint this on. It takes about 10 minutes to dry, but the effect is a glossy and shimmery accent!
You can see another Gnome for the Holidays card that I posted here on my blog.
Product List


