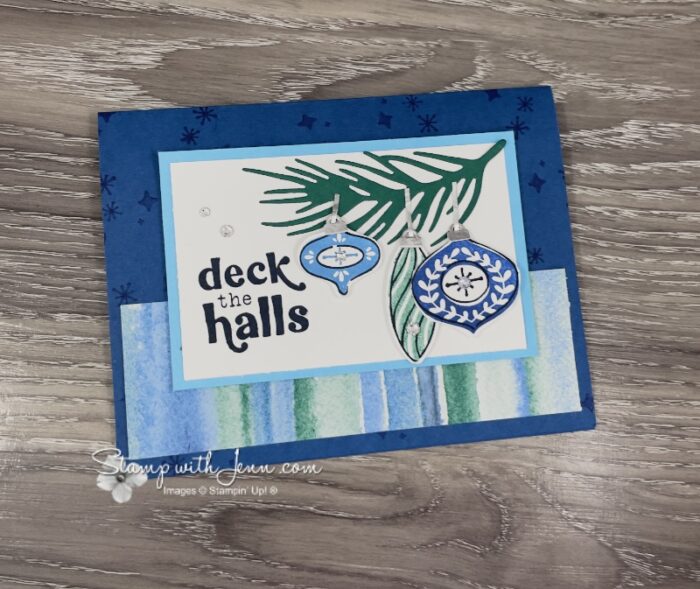
Festive Cheer Christmas Card with an Easy Two-Step Stamping Tip
Who says Christmas cards have to be red and green? For this card, I pulled my colours straight from a piece of Designer Series Paper and ended up with a beautiful combination of blues and Shaded Spruce!
I’m using the Stampin’ Up! Festive Cheer Bundle, and along the way I’m sharing a two-step stamping tip that made stamping these ornaments much easier. I’ve also got a couple of other handy tricks for working with detailed dies and choosing colours. Scroll down for more info and to see the video!
Festive Cheer Bundle by Stampin’ Up!
The Festive Cheer Bundle includes stamps and coordinating dies for creating Christmas ornaments, greenery and festive greetings. I especially like the different ornament shapes and the delicate greenery die.
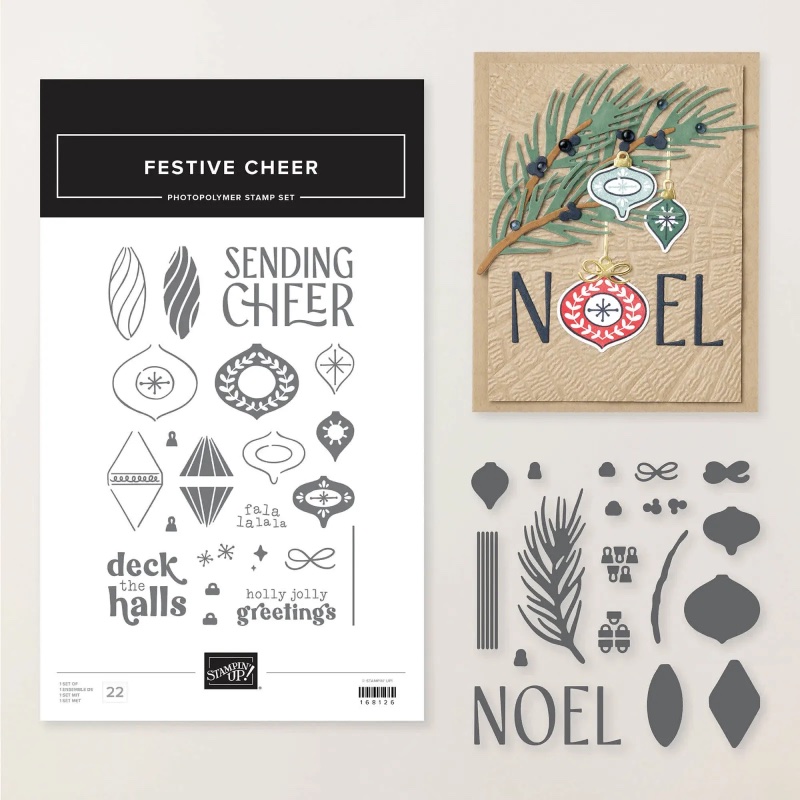
You can purchase the Festive Cheer Bundle and save 10%, or choose the stamp set and dies separately if you prefer. You’ll find all three options in the supply list at the end of this post.
Two-Step Stamping Tip: Try Reversing the Order
Two-step stamping is a technique where you use two stamps to build one image. Usually, one stamp creates the solid colour and the other adds the outline or details.
I normally stamp the outline first and then add the solid image. But with these ornaments, I found it worked better to do the opposite!
My tip: Stamp the solid image first, then line up the outline stamp over top. I found it much easier to see where everything needed to go, and I was happier with the results.
It’s a small change, but definitely worth trying the next time you’re working with two-step stamps.
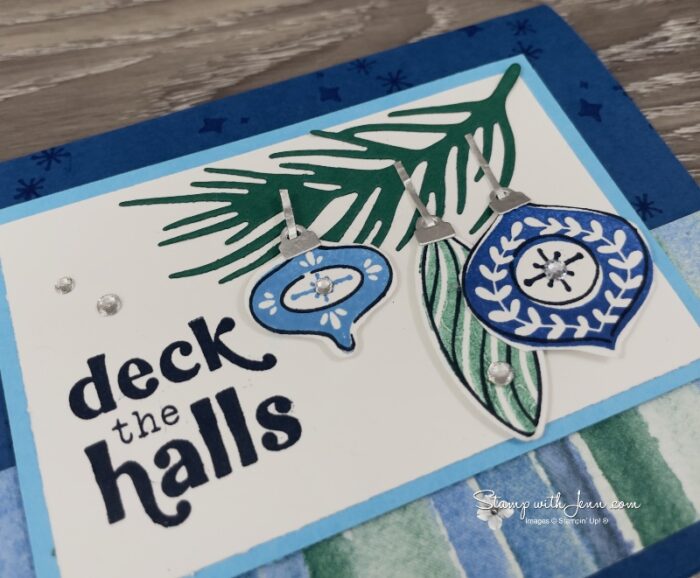
Another Handy Tip: Adhesive Sheets for Detailed Dies
See that delicate greenery behind the ornaments? It’s a beautiful die cut, but all those narrow pieces could be tricky to glue down individually.
That’s where Adhesive Sheets come in handy! (BTW, see the full list of supplies at the end of this post)
Apply an Adhesive Sheet to the back of your cardstock before running it through your die-cutting machine. Once you’ve cut out the greenery, you can peel off the backing and attach it to your card without having to fuss with liquid glue.
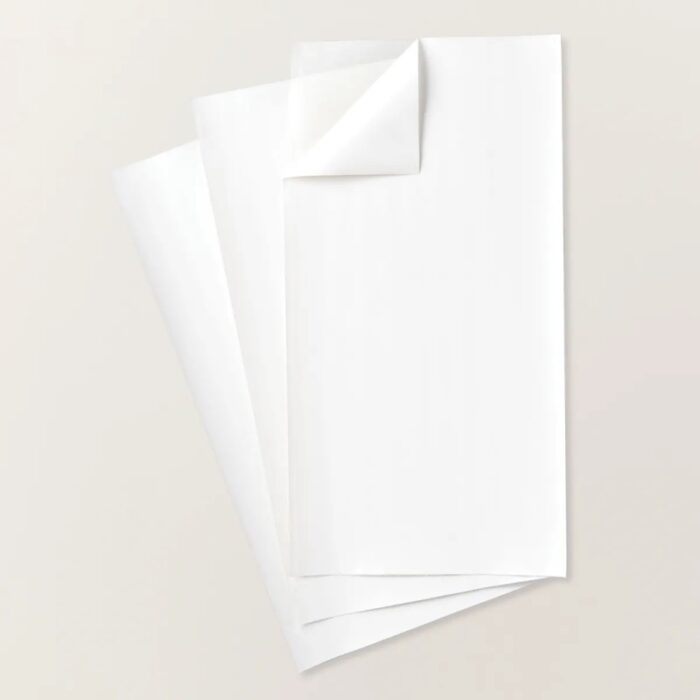
Using Adhesive Sheets is one of my favourite tricks for intricate die cuts!
Choosing Christmas Card Colours from Designer Series Paper
Sometimes the easiest way to choose a colour combination is to let your Designer Series Paper do the work for you.
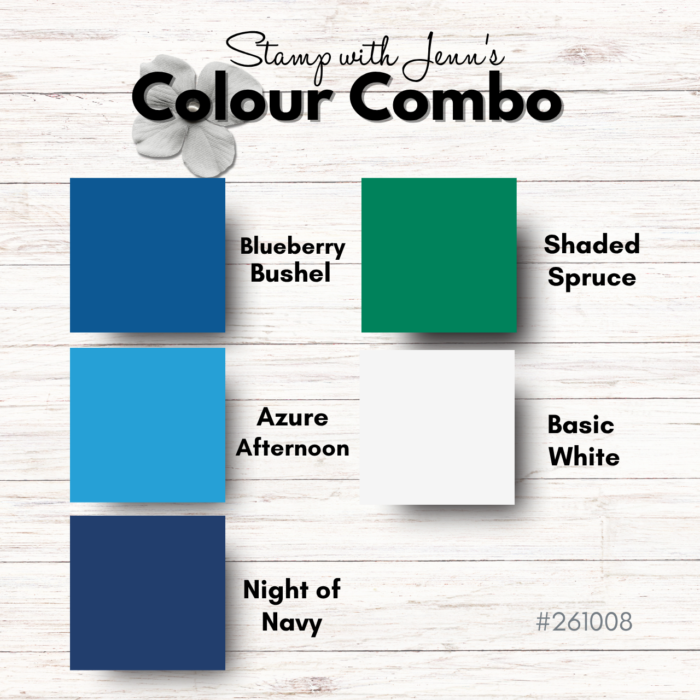
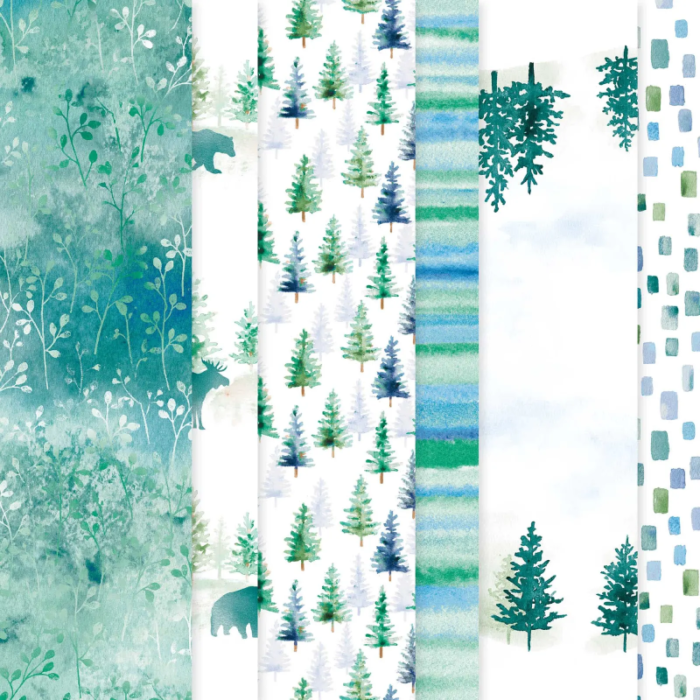
For this card, I started with the Whispering Woods Designer Series Paper. The blues and greens in the pattern inspired my colour choices:
- Blueberry Bushel
- Azure Afternoon
- Night of Navy
- Shaded Spruce
It’s a little different from traditional Christmas colours, but I love how fresh it looks with the silver accents!
Whispering Woods Designer Series Paper
There’s something else special about this paper, too. For every package of Whispering Woods Designer Series Paper sold, Stampin’ Up! will donate $4 CAD to organizations around the world dedicated to empowering women.
Festive Cheer Christmas Card Measurements
Here are the measurements for recreating this Christmas card:
- Blueberry Bushel card base: 8 1/2″ x 5 1/2″, scored and folded at 4 1/4″
- Whispering Woods Designer Series Paper: 5 1/4″ x 1 3/4″
- Azure Afternoon cardstock mat: 4 1/4″ x 2 3/4″
- Basic White cardstock (stamped panel): 4″ x 2 1/2″
- Basic White cardstock (ornaments): 3 1/2″ x 2″
- Shaded Spruce cardstock (tree branch): 3 1/2″ x 1 1/2″
- Silver Foil (ornament tops and strings): scraps
Watch the Festive Cheer Christmas Card Tutorial
Want to see exactly how I put everything together? Watch the video below for the two-step stamping demonstration, my Adhesive Sheets trick and the full card assembly.
I hope this gives you a few new ideas for your Christmas cards! And remember, sometimes changing the order of your stamping is all it takes to make a technique easier.
Festive Cheer Card Making Supplies
You’ll find the products I used for this card below. Click on any product to see more details or shop with me.
Product List
![Festive Cheer Bundle (English) [ 168133 ]](https://assets1.tamsnetwork.com/images/EC042017NF/168133s.jpg "Festive Cheer Bundle (English) [ 168133 ]")
![Festive Cheer Photopolymer Stamp Set (English) [ 168126 ]](https://assets1.tamsnetwork.com/images/EC042017NF/168126s.jpg "Festive Cheer Photopolymer Stamp Set (English) [ 168126 ]")
![Blueberry Bushel Classic Stampin' Pad [ 147138 ]](https://assets1.tamsnetwork.com/images/EC042017NF/147138s.jpg "Blueberry Bushel Classic Stampin' Pad [ 147138 ]")
![Azure Afternoon Classic Stampin' Pad [ 161663 ]](https://assets1.tamsnetwork.com/images/EC042017NF/161663s.jpg "Azure Afternoon Classic Stampin' Pad [ 161663 ]")
![Night Of Navy Classic Stampin' Pad [ 147110 ]](https://assets1.tamsnetwork.com/images/EC042017NF/147110s.jpg "Night Of Navy Classic Stampin' Pad [ 147110 ]")
![Shaded Spruce Classic Stampin' Pad [ 147088 ]](https://assets1.tamsnetwork.com/images/EC042017NF/147088s.jpg "Shaded Spruce Classic Stampin' Pad [ 147088 ]")
![Basic White 8 1/2" X 11" Cardstock [ 159276 ]](https://assets1.tamsnetwork.com/images/EC042017NF/159276s.jpg "Basic White 8 1/2\" X 11\" Cardstock [ 159276 ]")
![Blueberry Bushel 8-1/2" X 11" Cardstock [ 146968 ]](https://assets1.tamsnetwork.com/images/EC042017NF/146968s.jpg "Blueberry Bushel 8-1/2\" X 11\" Cardstock [ 146968 ]")
![Azure Afternoon 8 1/2" X 11" Cardstock [ 161719 ]](https://assets1.tamsnetwork.com/images/EC042017NF/161719s.jpg "Azure Afternoon 8 1/2\" X 11\" Cardstock [ 161719 ]")
![Shaded Spruce 8-1/2" X 11" Cardstock [ 146981 ]](https://assets1.tamsnetwork.com/images/EC042017NF/146981s.jpg "Shaded Spruce 8-1/2\" X 11\" Cardstock [ 146981 ]")
![Whispering Woods 12" X 12" (30.5 X 30.5 Cm) Designer Series Paper [ 168368 ]](https://assets1.tamsnetwork.com/images/EC042017NF/168368s.jpg "Whispering Woods 12\" X 12\" (30.5 X 30.5 Cm) Designer Series Paper [ 168368 ]")
![Silver Foil Sheets [ 132178 ]](https://assets1.tamsnetwork.com/images/EC042017NF/132178s.jpg "Silver Foil Sheets [ 132178 ]")
![Stampin' Cut & Emboss Machine [ 149653 ]](https://assets1.tamsnetwork.com/images/EC042017NF/149653s.jpg "Stampin' Cut & Emboss Machine [ 149653 ]")
![Festive Cheer Dies [ 168132 ]](https://assets1.tamsnetwork.com/images/EC042017NF/168132s.jpg "Festive Cheer Dies [ 168132 ]")
![Paper Trimmer [ 152392 ]](https://assets1.tamsnetwork.com/images/EC042017NF/152392s.jpg "Paper Trimmer [ 152392 ]")
![Take Your Pick [ 144107 ]](https://assets1.tamsnetwork.com/images/EC042017NF/144107s.jpg "Take Your Pick [ 144107 ]")
![Detail Scissors [ 170902 ]](https://assets1.tamsnetwork.com/images/EC042017NF/170902s.jpg "Detail Scissors [ 170902 ]")
![Adhesive Sheets [ 152334 ]](https://assets1.tamsnetwork.com/images/EC042017NF/152334s.jpg "Adhesive Sheets [ 152334 ]")
![Stampin' Seal [ 152813 ]](https://assets1.tamsnetwork.com/images/EC042017NF/152813s.jpg "Stampin' Seal [ 152813 ]")
![Stampin' Dimensionals [ 104430 ]](https://assets1.tamsnetwork.com/images/EC042017NF/104430s.jpg "Stampin' Dimensionals [ 104430 ]")
![Rhinestone Basic Jewels [ 144220 ]](https://assets1.tamsnetwork.com/images/EC042017NF/144220s.jpg "Rhinestone Basic Jewels [ 144220 ]")