Sweet & Sparkly Polar Bear Christmas Card with Woodland Wishes
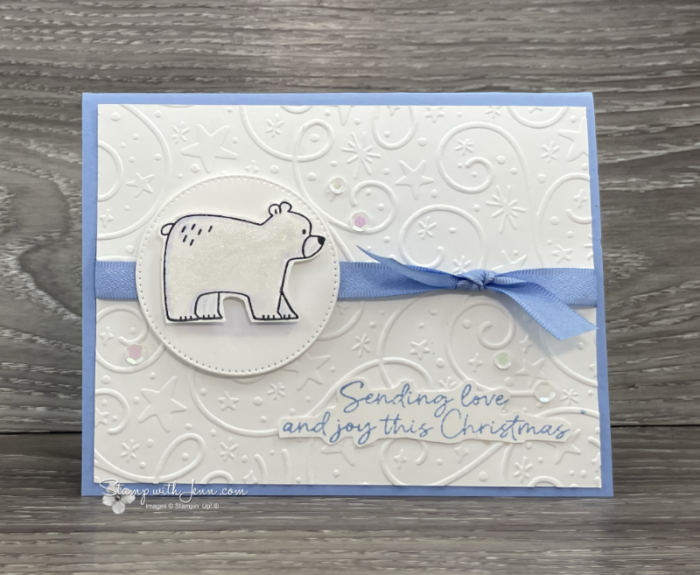
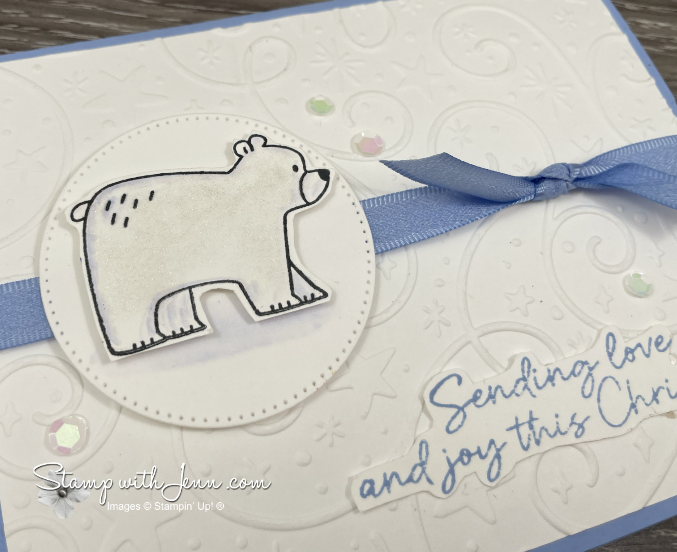
Sometimes the prettiest Christmas cards start with the simplest colour combinations! For this sweet polar bear card, I paired Hydrangea Hue with crisp white cardstock, added a little texture and sparkle, and let that adorable bear steal the show.
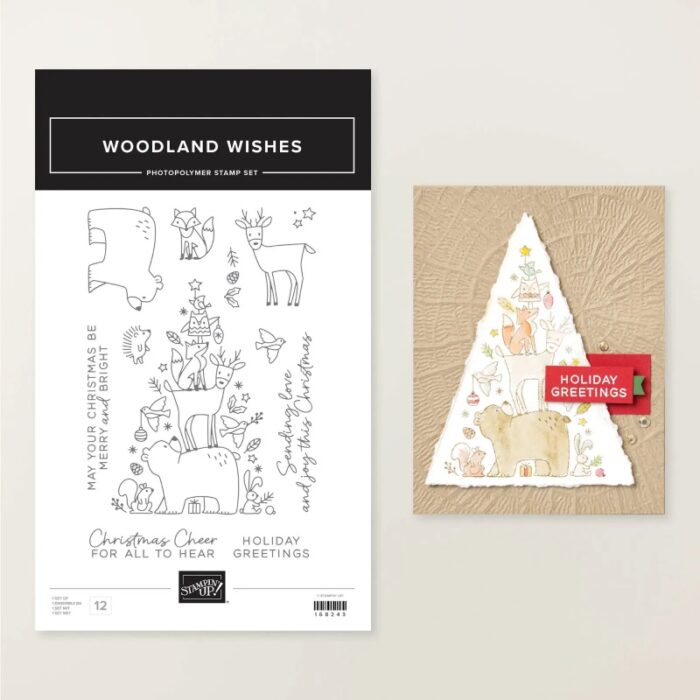
For this project, I used the Woodland Wishes Stamp Set from Stampin’ Up! The result is a soft, snowy Christmas card with lots of texture and a few sparkly finishing touches.
And that adorable little polar bear? I’ve got a fun colouring trick to share that helps keep him looking white while adding just enough shading to give him some dimension.
One Colour Plus White: A Simple Christmas Card Colour Combination
One of my favourite things about this card is how everything coordinates without needing a whole collection of colours.
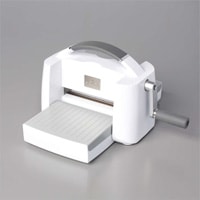
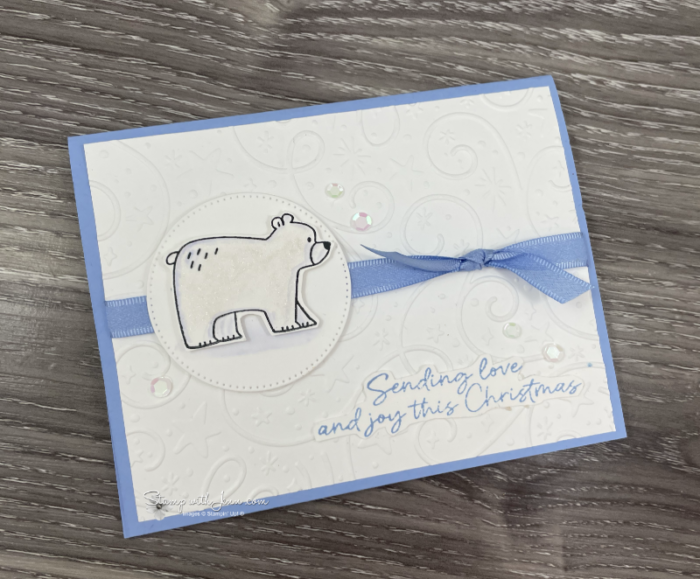
I started with Hydrangea Hue Cardstock and Basic White Cardstock, then added texture to the white layer using the Swirls of Magic Embossing Folder. That embossed background gives the card a snowy feeling without making it too busy.
The Hydrangea Hue Classic Stampin’ Pad and matching Hydrangea Hue Bordered Ribbon bring the colour through the rest of the design. Using the same colour in several places helps everything look coordinated.
 Cardmaking Tip: When you’re not sure which colours to combine, try choosing just one colour and pairing it with white. Then add texture, ribbon, or embellishments for interest. It’s a simple approach that works for so many occasions!
How to Shade a White Polar Bear Without Making Him Purple!
Here’s where things get interesting!
When you’re colouring something white, whether it’s a polar bear, snowman, or even a fluffy cloud, you don’t necessarily want to leave it completely uncoloured. A little shading helps give the image shape and dimension.
But colouring directly with a Stampin’ Blend can sometimes give you more colour than you want. And I definitely didn’t want a purple polar bear!
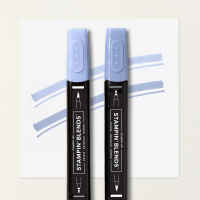
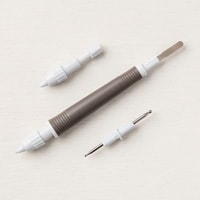
Instead, I used a little trick with my Hydrangea Hue Stampin’ Blends and Stampin’ Blends Color Lifter.
I scribbled a small amount of Hydrangea Hue onto a clear block, then picked up a little of that colour with the Color Lifter. This allowed me to add very soft shading to the polar bear without making him too dark.
The result is just a hint of colour around parts of his body, while most of the bear stays white.
Cardmaking Tip: Start with a tiny amount of colour. You can always add more, but it’s much easier to build up soft shading than to remove too much colour afterward.
If you’d like more ideas for colouring with these markers, visit my Stampin’ Blends tips and techniques page.
No Matching Dies? No Problem!
I have to admit, I really love the Woodland Wishes Stamp Set. The animals are just so cute!
And even though this set doesn’t have coordinating dies, I still wanted it.
 For this card, I stamped the polar bear and then cut him out by hand. I also cut around the stamped Christmas greeting instead of using a die.
Here are a few of my favourite fussy cutting tips:
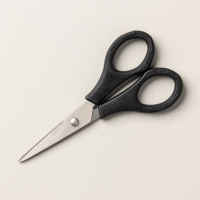
- Use sharp, small scissors, such as the Detail Scissors.
- Turn your cardstock as you cut rather than constantly turning your scissors.
- Leave a narrow white border around the stamped image.
- Take your time around the little details. You don’t have to cut perfectly against every stamped line.
Once everything was cut out, I used Stampin’ Dimensionals to lift the bear and greeting off the card and create a little depth.
And here’s another small detail that makes a difference: I added a soft shadow beneath the bear so he looks like he’s standing on the snowy background instead of floating in the air!
Watch the Polar Bear Christmas Card Tutorial
I made this card during one of my Friday Facebook Live videos, and you can watch the full tutorial below.
You’ll see exactly how I colour the polar bear, cut out the images and greeting, and put all those little details together.
A Little Sparkle Makes Everything Better!
Of course, a snowy Christmas card needs a little sparkle!
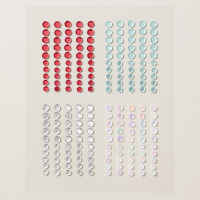
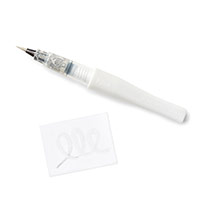
I added Adhesive-Backed Sparkle Sequins to the card and used the Clear Wink of Stella Glitter Brush for a subtle shimmer.
What I like about these finishing touches is that they add something special without taking attention away from the polar bear. The embossed background, soft ribbon, and sparkly accents all work together to create a card that feels festive but still simple.
More Woodland Wishes Christmas Card Inspiration
And because I couldn’t resist playing with more of these adorable animals, I made another card using the larger woodland scene from the same stamp set!
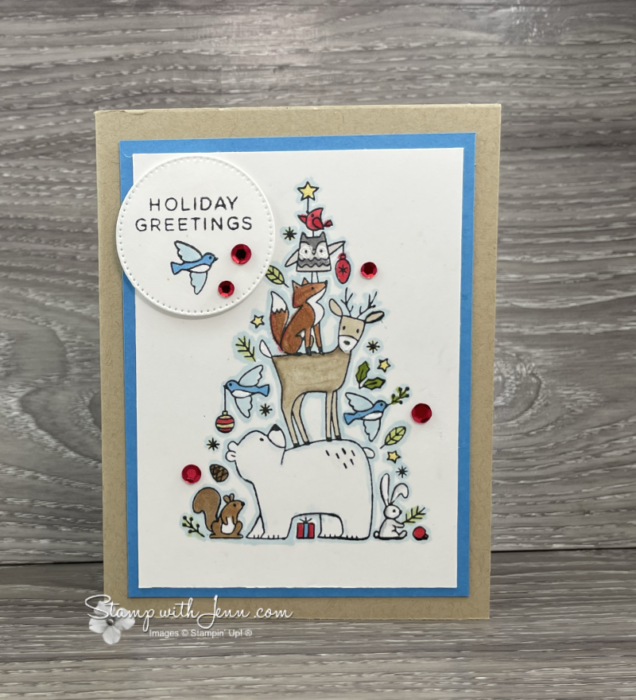
This time, I coloured the group of animals and added a soft Balmy Blue outline to help the white areas stand out. I also used Stampin’ Up’s White Gel Pen for a few tiny details, including the owl’s eyes.
It’s amazing how those little finishing touches can bring a stamped image to life!
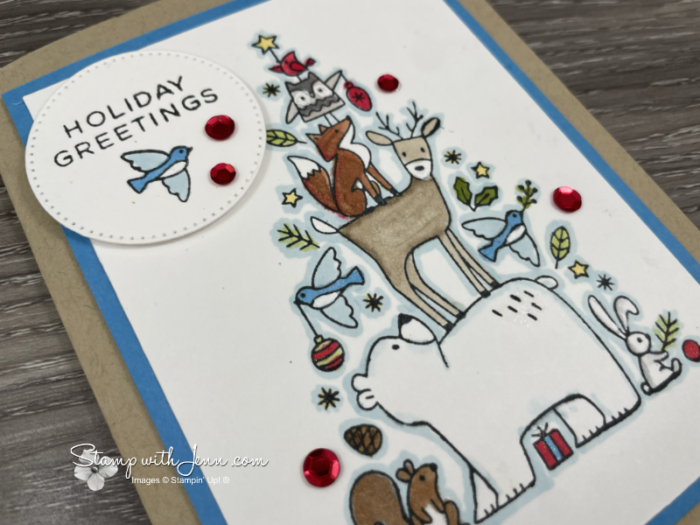
I love that the Woodland Wishes Stamp Set gives you options for both a simple focal-point card and a more detailed scene. And you don’t need matching dies to enjoy either one!
Ready to Try Your Own Woodland Wishes Card?
Whether you choose the single polar bear or the whole group of woodland animals, I hope these projects give you a few ideas for your own Christmas cardmaking.
Try starting with one favourite colour and white, add a little texture, and finish with some coordinating sparkle.
And if you give the Color Lifter shading technique a try, I’d love to hear how it works for you!
You’ll find the supplies I used listed below. Happy stamping!
Product List