3 Easy Ways to Add Colour to Black & White Designer Series Paper
Black and white Designer Series Paper is incredibly versatile—but you don’t have to leave it black and white!
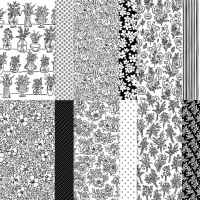
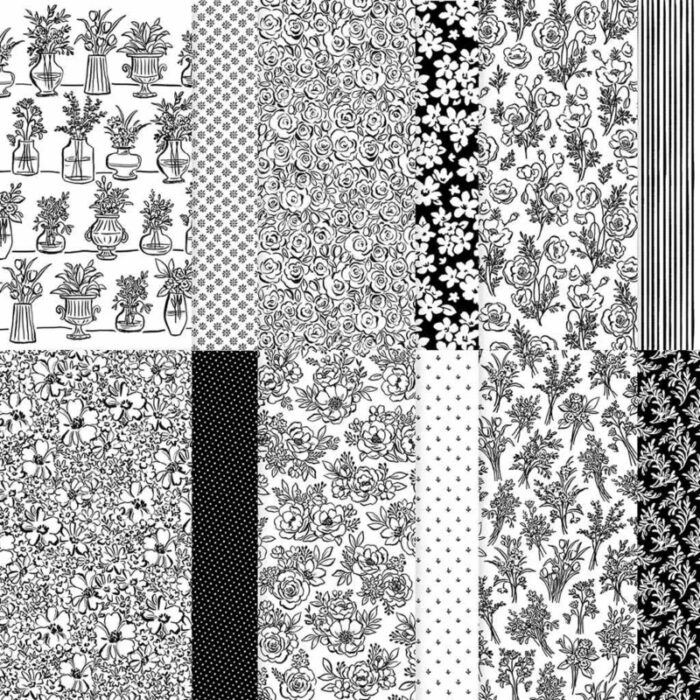
One of the things I love about the Artisan Sketched Garden Designer Series Paper is that those beautiful black-and-white designs give you a blank canvas. Add a little ink, a few Stampin’ Blends, or even just one unexpected colour and suddenly the paper looks completely different.
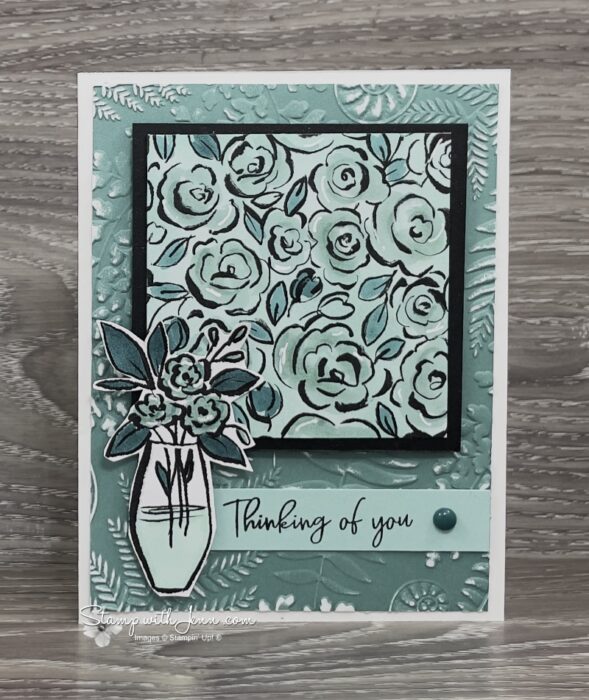
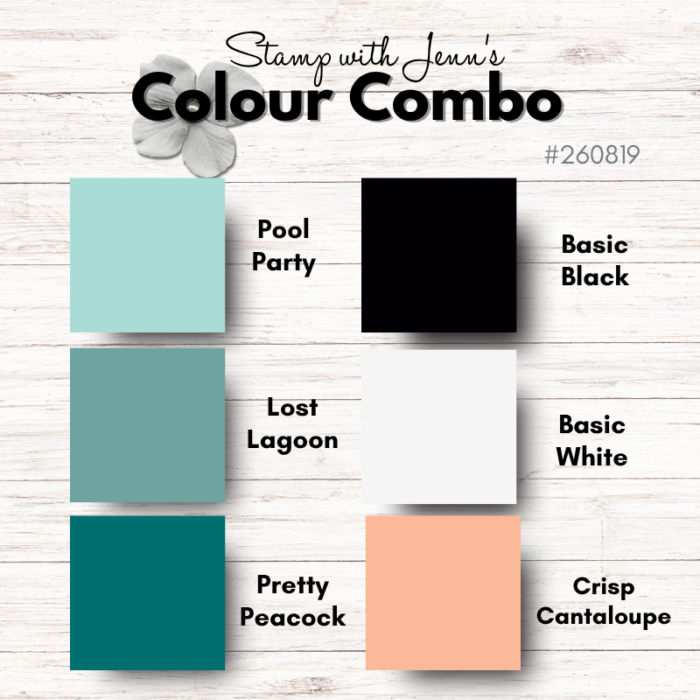
For these cards, I experimented with 3 easy ways to add colour to black and white Designer Series Paper, using Pool Party, Lost Lagoon and Pretty Peacock as my main colour combination.
The best part? None of these techniques is difficult. You can decide whether you want to add colour in just a few minutes or spend a little more time adding details.
Start with Black & White Designer Series Paper
Before adding any colour, have a good look at the paper itself. The black-and-white designs in the Artisan Sketched Garden DSP can certainly be used exactly as they are—but they’re also perfect for customizing.
You can change the entire background colour, highlight just a few details, or cut out individual printed images and turn them into card elements.
 Watch: 3 Ways to Transform Black & White Designer Series Paper
Prefer to see the techniques in action? In this video, I’ll walk you through the different ways I added colour to the DSP and show you how the card comes together from start to finish.
Watch the video on YouTube HERE
Start with a Simple Colour Combination
For my first cards, I kept the colour palette almost monochromatic:
Pool Party + Lost Lagoon + Pretty Peacock
with Basic Black and Basic White accents.
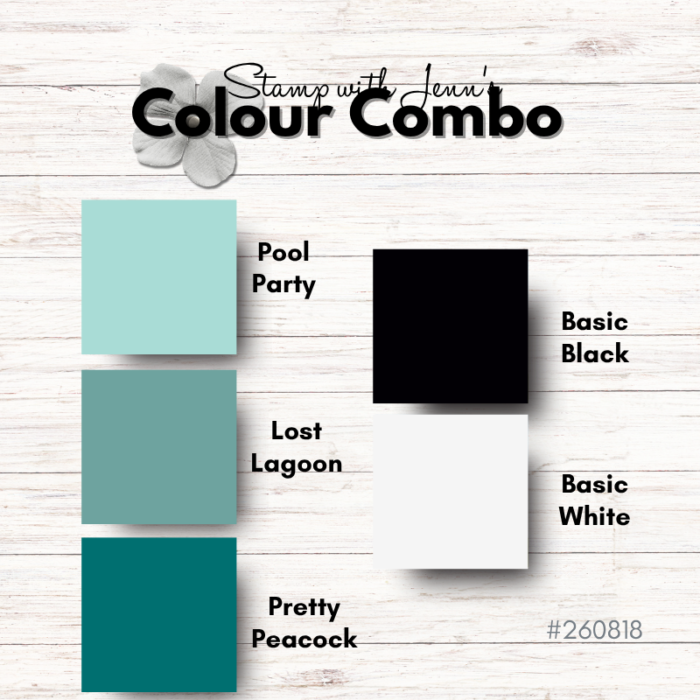
Staying within one colour family is an easy way to experiment with a bold patterned paper without worrying about whether all your colours will work together.
And because the Artisan Sketched Garden DSP starts out black and white, you get to decide what colour story it tells.
Idea #1: Add Colour Quickly with a Blending Brush
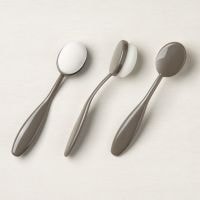
If you want the quickest transformation, reach for a Blending Brush and an ink pad.
Rather than colouring every individual flower and leaf, brush colour over the entire piece of Designer Series Paper. The black printed design remains crisp while the white areas take on your chosen colour.
For this card, I used Pool Party to give the floral paper a soft blue-green base. You could stop right there and have a completely different-looking sheet of DSP—or keep going and add even more detail.
Jenn Tip: Start with a light hand when using your Blending Brush. It’s much easier to gradually add more ink than it is to remove colour if you start too dark.
Idea #2: Add Detail with Stampin’ Blends
Want to take the transformation one step further? Use Stampin’ Blends to selectively colour portions of the printed design.
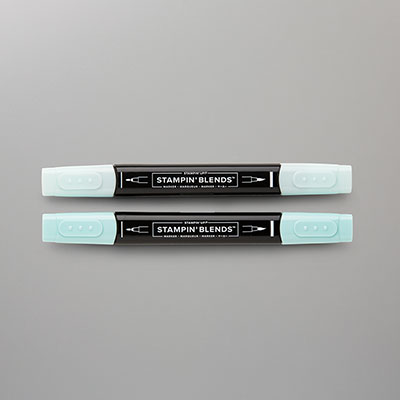
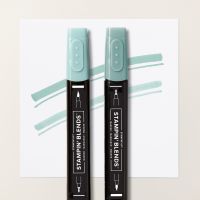
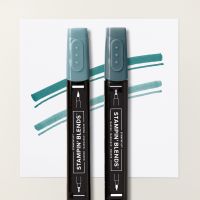
I used Pool Party, Lost Lagoon and Pretty Peacock Stampin’ Blends to add darker flowers, leaves and small details over the Pool Party background.
You don’t need to carefully colour every single image. In fact, adding colour to only selected areas helps create depth while still letting some of the original design show through.
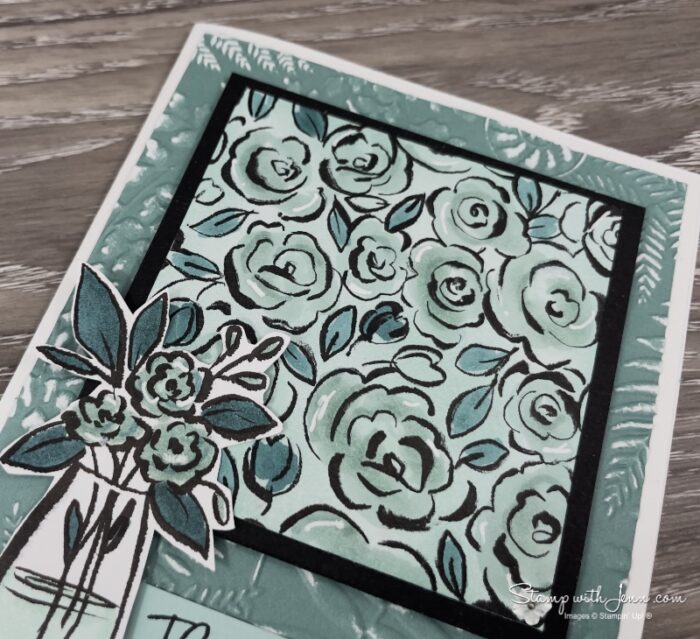
A few darker lines around petals and leaves can also create the look of shadows and make the printed images feel much more dimensional.
Jenn Tip: Don’t worry about perfect blending on small printed images. A few strategically placed darker accents can give you plenty of dimension without a lot of colouring.
Idea #3: Colour, Cut and Turn Your DSP into an Embellishment
Here’s another way to look at patterned paper: it doesn’t always have to be a background.
The Artisan Sketched Garden DSP includes floral arrangements and vases that are perfect for colouring and cutting out with Detail Scissors.
I coloured one of the printed floral arrangements, cut around it and used it as the focal element on the front of the card.
That means the same Designer Series Paper can do double duty—as a patterned background and as a source of embellishments.
Jenn Tip: When fussy cutting, turn the paper as you cut rather than trying to constantly turn your scissors. I also like to leave a tiny white border around the image—it makes detailed cutting much more forgiving.
Bonus Technique: Emboss & Sand Two-Tone Cardstock
There’s another technique happening on these cards that I didn’t want you to miss!
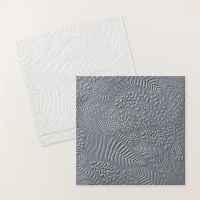
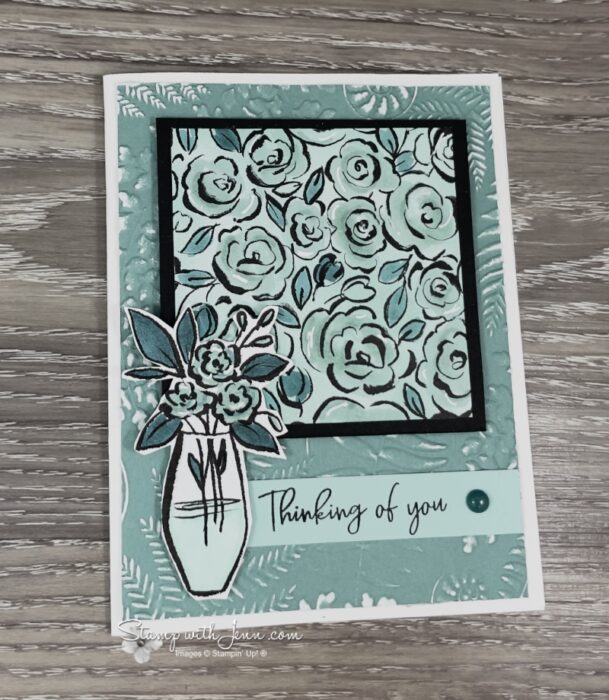
I used the Fern & Flora 3D Embossing Folder with Two-Tone Cardstock. Because the cardstock has a white core, lightly sanding the raised embossed areas reveals some of that white underneath.
The result is a soft, distressed texture that works beautifully with the Artisan Sketched Garden DSP.
I tried it first with Lost Lagoon Two-Tone Cardstock:
Then I tried the same technique with Pretty Peacock Two-Tone Cardstock:
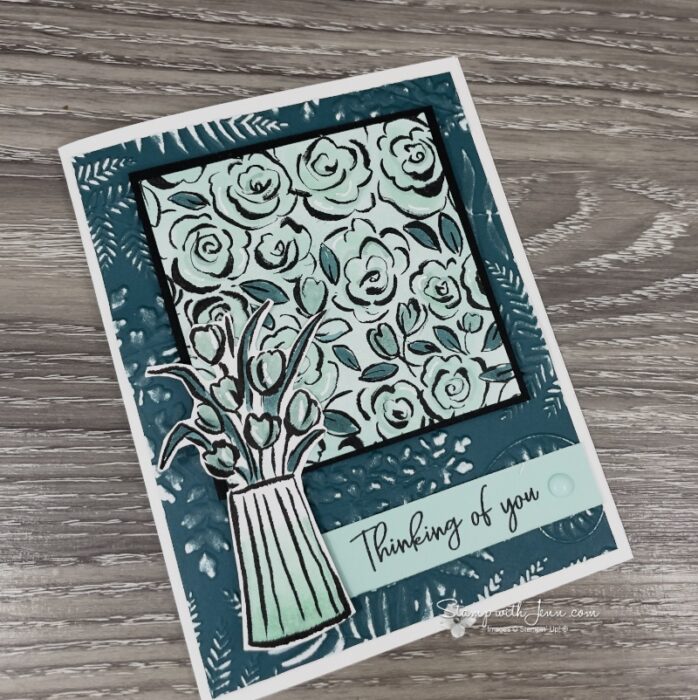
Same technique. Different colour. Very different feel!
The Lost Lagoon version is softer, while Pretty Peacock gives the design more contrast and drama. It’s interesting to see how changing just one cardstock colour can affect the personality of the finished card.
What Happens When You Add a Complementary Colour?
After working with the blue-green monochromatic palette, I wanted to try one more variation.
This time I added Crisp Cantaloupe.
An orange tone is complementary to blue, so that little bit of warm colour immediately stands out against the cooler Pool Party, Lost Lagoon and Pretty Peacock combination.
You don’t need a lot of a complementary colour, either. A small amount can be enough to give the whole project a different look.
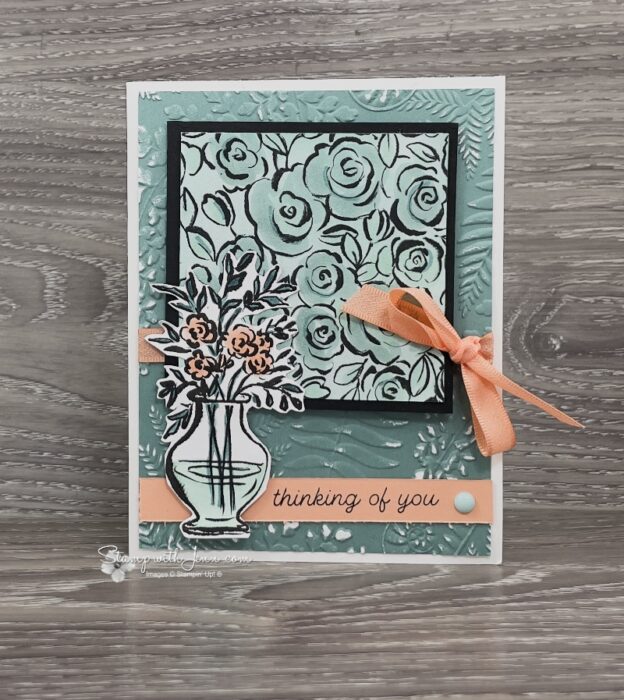
For this version, I also changed the greeting. The Friendly Foliage Stamp Set I used on the original card has already sold out, so I reached for a different greeting instead. The DSP techniques work no matter which sentiment you choose.
One Designer Series Paper—So Many Possibilities
That’s what I hope you’ll take away from these cards.
When you see black-and-white Designer Series Paper, don’t automatically think you have to create a black-and-white card.
Instead, ask yourself: What would happen if I added colour?
You could:
- Add an all-over colour quickly with a Blending Brush.
- Use Stampin’ Blends to highlight selected details and add dimension.
- Colour and cut printed images from the DSP to create your own embellishments.
- Or combine several of those ideas on one card!
Once you start changing the colours, the same package of Designer Series Paper can work with all kinds of card styles, colour combinations and occasions.
Get More Card-Making Ideas
If you enjoy discovering new ways to use your Stampin’ Up! supplies, I’d love to have you join my FREE Rubber Stamping & Card Making Newsletter.
I share card ideas, techniques, project inspiration and Stampin’ Up! news to help you get more from the supplies you already have—and discover a few new favourites along the way.
Get My FREE Card Making Newsletter
Shop the Supplies
Want to try these ideas yourself? You’ll find the Artisan Sketched Garden Designer Series Paper, Blending Brushes, Stampin’ Blends, Two-Tone Cardstock and the other supplies I used below.
Click any product below for more information or to shop with me.
Product List
![Friendly Foliage Photopolymer Stamp Set (English) [ 167021 ]](https://assets1.tamsnetwork.com/images/EC042017NF/167021s.jpg "Friendly Foliage Photopolymer Stamp Set (English) [ 167021 ]")
![All Aflutter Photopolymer Stamp Set (English) [ 167564 ]](https://assets1.tamsnetwork.com/images/EC042017NF/167564s.jpg "All Aflutter Photopolymer Stamp Set (English) [ 167564 ]")