Pot of Gold
Wishing you a Happy St. Patrick's Day.
Here's how I made my rainbow and Pot of Gold card. 
1. I cut two pieces of Old Olive Cardstock (5.5 x 1.5 and one slight smaller) and used my Fringe Scissors to make the grass.
2. To make the rainbow, I used my Circle Framelits Dies and cut one of each colour for the Rainbow. To make the "ring" I used two circle dies together with the Magnetic Platform to hold them in place. 
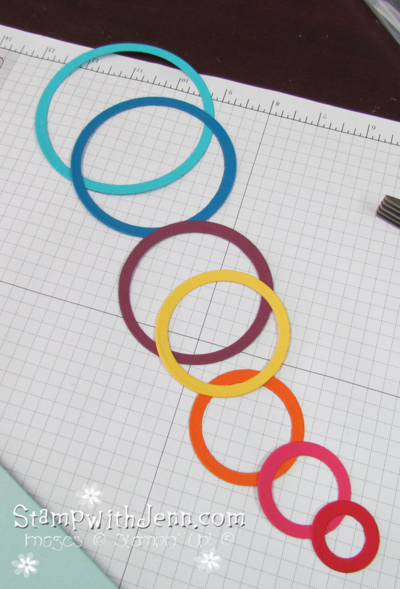
3. Then I ran SNAIL (double sided adhesive) along a piece of white cardstock and started sticking the rings together. 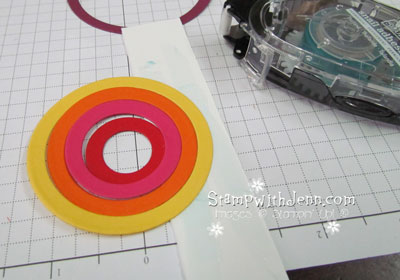
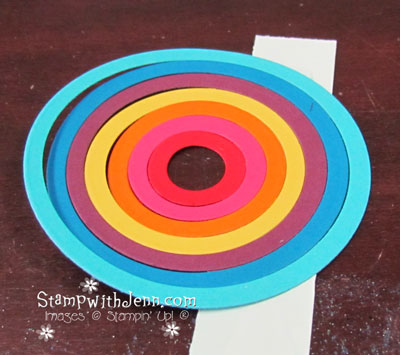
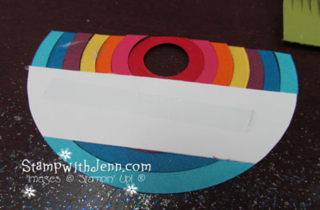
4. Then I cut off a third of the circles and then trimmed around the white piece. The second photo is the back view of my "rainbow".
5. For the POT of GOLD. I punched the bottom of the pot from the Cupcake Punch. To make the handle, I punched out the small Oval Punch and then punched the Scallop Oval punch on top and then cutt off the excess.
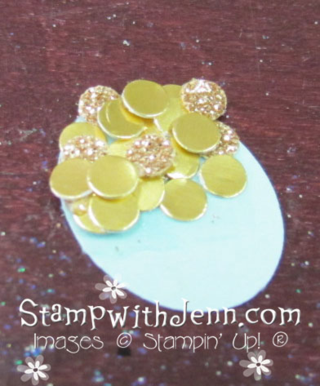
6. To make the GOLD in the POT Of GOLD, I punched out a small oval punch out of Soft Sky cardstock (so it blends in with the back ground). Then punched out a bunch of small gold and bronze circles using the Cupcake Punch. And then layered them together using SNAIL adhesive and glue dots.
7. Finishing touches: I cut out two "clouds" from the Word Bubble Framelits and sponged them lightly with Soft Sky Ink. And then I took the leftover yellow circle and sponged it slightly with Dafffodil Delight ink.
I attached all the elements to the card, tucking the pot of gold into the grass and the "gold" in behind that. I ended up added a few more "gold" pieces after the card was done.
Saying is from the Stamp set "Teeny Tiny Wishes".
Final step was to trim off any of the over hanging pieces! 
Hope you enjoyed….have a Happy St. Patricks Day!  **Stampin’ Up! Occasions-Celebrate the Everyday Catalogue 2014


